 Where do you collect your rubbish in a car? Ideally you remove it every time you leave the car but it’s not always practical while shepherding children and carrying book bags and car seats. My car door storage was getting a little full of mint packet wrappers and used car tickets so I bit the bullet a solution was needed. Strangely enough it was the hanging storage pods for indoors that got me thinking and then I saw someone made one that was for sale that had a loop that hung over the gear stick and rested in the passenger side footwell. That was all I needed to search Pinterest and decided to pull out 2 Fat Quarters and have a go at one.
I started with
- 4 10 inch squared 2 for the lining and 2 for the outside.
- 1 3 inch by 14 inch piece that matched the outside. Construct would of worked to
- 2 10 inch squares Heavy/medium weight interfacing ( I think fusible fleece might work to if you have it)

Sew the bottom seam and the 2 side seams together using a quarter inch seam allowance on the outer fabric. Leave the cut out square area un-sewn for now
Do the same for the lining but leave a gap in the bottom middle to pull everything through later.
Now those corners we cut out, right sides still facing, pull the outwards so they make a straight line with the bottom and side seams coming together. Pin and sew this together. It may look strange but it will add a boxed edge and shaping to your bag. Do this on all both corners of inner and outer fabrics.


Now for your strap, fold it wrong sides together in half lengthwise and press it flat. Open it op and fold the edges towards to pressed fold press the new 2 outer edges then fold it so one side folds on top of the other looking a bit like a book being folded shut and top stitch with a small seam allowance on each side. The strap should have a width of about an inch.
With your outside fabric turned right way out either fold your strap in half or form a pleasing loop and baste your strap raw edge to raw edge along one side of your bag facing loop down. Use a smaller seam allowance than 1/4 inch.
Now the fun starts. Place the lining right sides facing with the outer fabric on the outside enclosing the strap and outer. Make sure your strap is safely facing down and your seams are matching. Pin the top edges together and the sew all around the top edge.
Now for the fun part! Full your bag through the hole you left in the bottom of the lining carefully but firmly. 

Arrange it all in place and if needed give the top edge a press to make sure the inside isn’t poking out over the top edge. Iron it if needed. Then top stitch it around the top to hold it in place and reinforce the strap.

Now all that needed is to sew up the hole in the bottom. Either by hand or machine and go put it in your car.


As you can see it doesn’t take up much room and won’t get in the way but is handy for those bits that need putting in a bin. And it’s totally washable. I suppose it could be lined with ripstop or part of a recycled shower curtain to make it waterproof and easy to wipe out if needed but I don’t think we would need to.


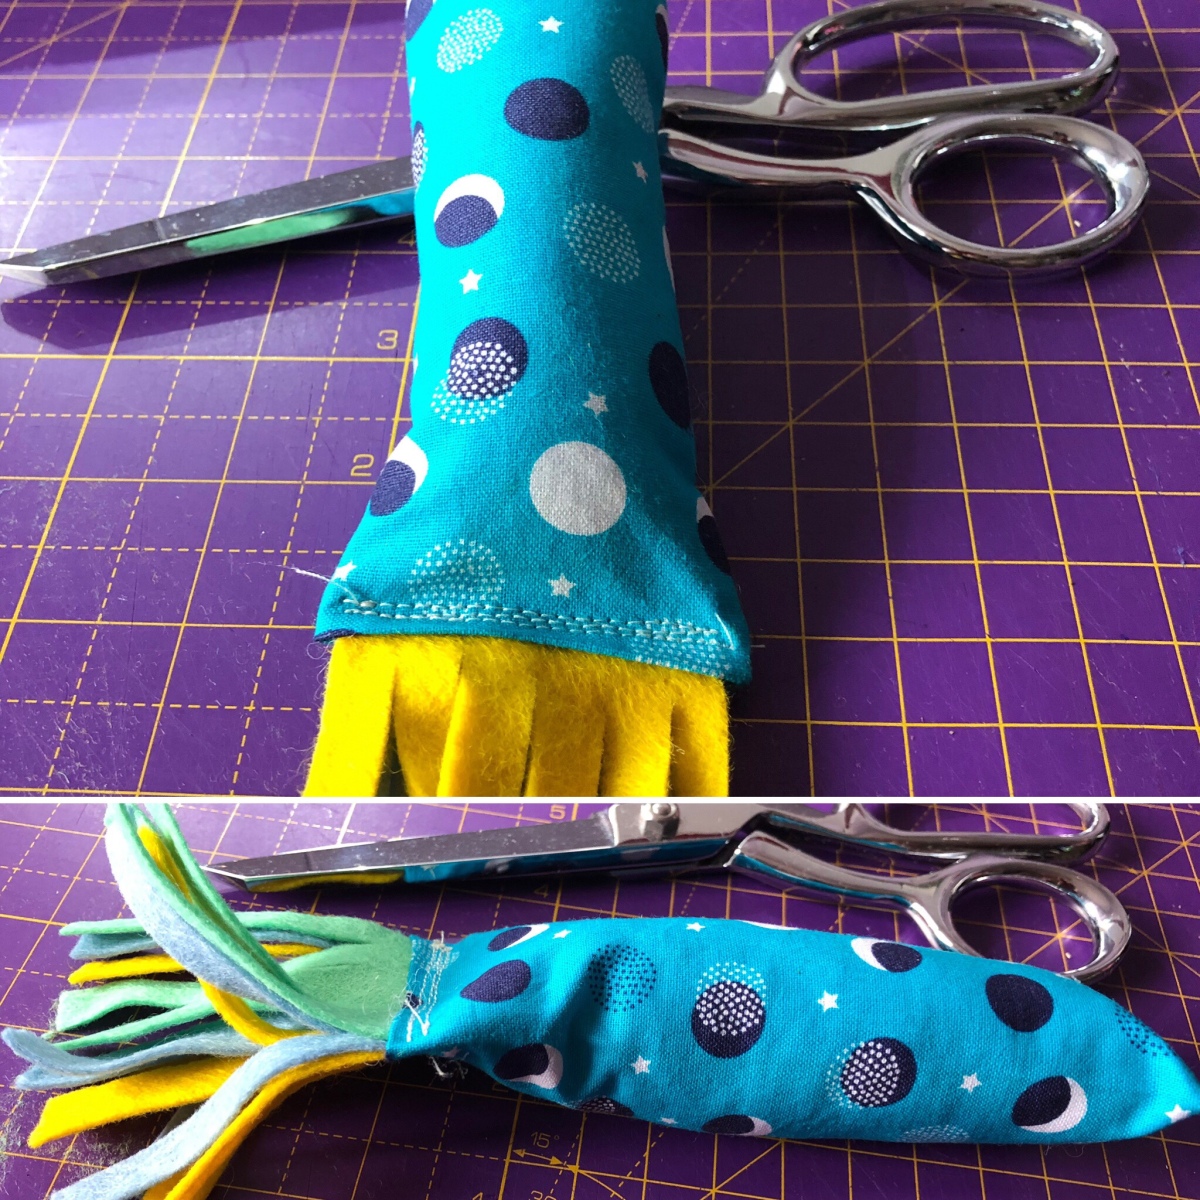
 While hanging out on Pinterest last night I came across catnip toys to sew for cats. This led to following a link to Etsy to a how much?!? moment. Kick toys and catnip equal happy kitties I know but patience awaiting delivery and seeing how easy they would be to make considering I have everything led to a nip to my sewing area and make a quick trial one with some scrap fabric pieces I have laying around.


