Half square triangle playtime

After the realisation last week that I had cut and sewed the wrong amount and quantities of half square triangles for a quilt, a change of plan was needed. Rows were as far as I got and then realised they didn’t fit together as I wanted either.

So hubby and myself played around and laid out this arrangement.

Ended up changing the bottom 2 rows so the pink areas carried on the dark lines and followed from the black bits. It’s nothing like was originally planned but I like it.

Was nice to finish putting the top together so far. Not sure if I’m going to add borders just yet. I’ll take a look and give it more though after our meeting tomorrow morning.

Still trying to decide between a cotton traditional backing or a soft plush backing. Being it’s lap quilt snuggly size I’ll probably opt for the soft fluffy backing. My mind is very changeable at the best of times so I’ll let you know when I decide eventually.

Car bin sewing and how I did it

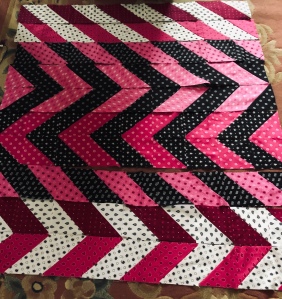
Where do you collect your rubbish in a car? Ideally you remove it every time you leave the car but it’s not always practical while shepherding children and carrying book bags and car seats. My car door storage was getting a little full of mint packet wrappers and used car tickets so I bit the bullet a solution was needed. Strangely enough it was the hanging storage pods for indoors that got me thinking and then I saw someone made one that was for sale that had a loop that hung over the gear stick and rested in the passenger side footwell. That was all I needed to search Pinterest and decided to pull out 2 Fat Quarters and have a go at one.

I started with

  • 4 10 inch squared 2 for the lining and 2 for the outside.
  • 1 3 inch by 14 inch piece that matched the outside. Construct would of worked to
  • 2 10 inch squares Heavy/medium weight interfacing ( I think fusible fleece might work to if you have it)
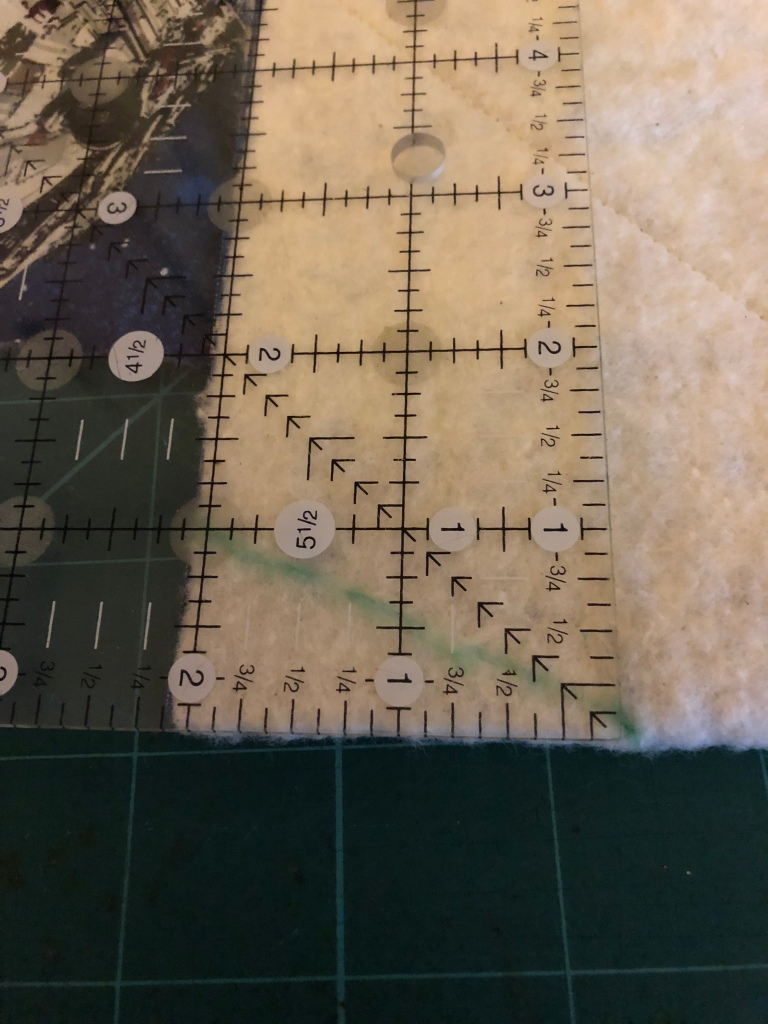
  • First thing was to interface the outside fabric and on all 4 10 inch squares to remove a 2 inch square from the bottom corners.
  • These removed areas will help the bag be ‘boxed’ later. The squares removed are no longer needed.
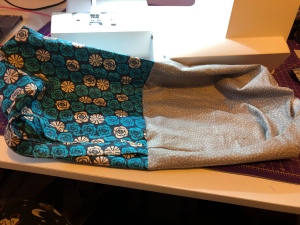
  • Sew the bottom seam and the 2 side seams together using a quarter inch seam allowance on the outer fabric. Leave the cut out square area un-sewn for now

    Do the same for the lining but leave a gap in the bottom middle to pull everything through later.

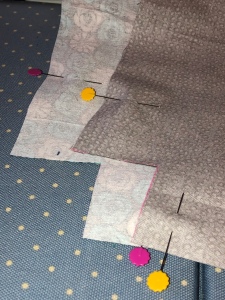
    Now those corners we cut out, right sides still facing, pull the outwards so they make a straight line with the bottom and side seams coming together. Pin and sew this together. It may look strange but it will add a boxed edge and shaping to your bag. Do this on all both corners of inner and outer fabrics.

    Now for your strap, fold it wrong sides together in half lengthwise and press it flat. Open it op and fold the edges towards to pressed fold press the new 2 outer edges then fold it so one side folds on top of the other looking a bit like a book being folded shut and top stitch with a small seam allowance on each side. The strap should have a width of about an inch.

    With your outside fabric turned right way out either fold your strap in half or form a pleasing loop and baste your strap raw edge to raw edge along one side of your bag facing loop down. Use a smaller seam allowance than 1/4 inch.

    Now the fun starts. Place the lining right sides facing with the outer fabric on the outside enclosing the strap and outer. Make sure your strap is safely facing down and your seams are matching. Pin the top edges together and the sew all around the top edge.

    Now for the fun part! Full your bag through the hole you left in the bottom of the lining carefully but firmly.

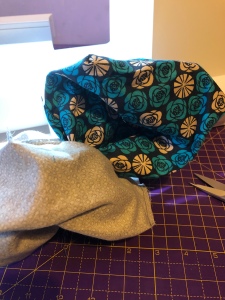
    Arrange it all in place and if needed give the top edge a press to make sure the inside isn’t poking out over the top edge. Iron it if needed. Then top stitch it around the top to hold it in place and reinforce the strap.

    Now all that needed is to sew up the hole in the bottom. Either by hand or machine and go put it in your car.

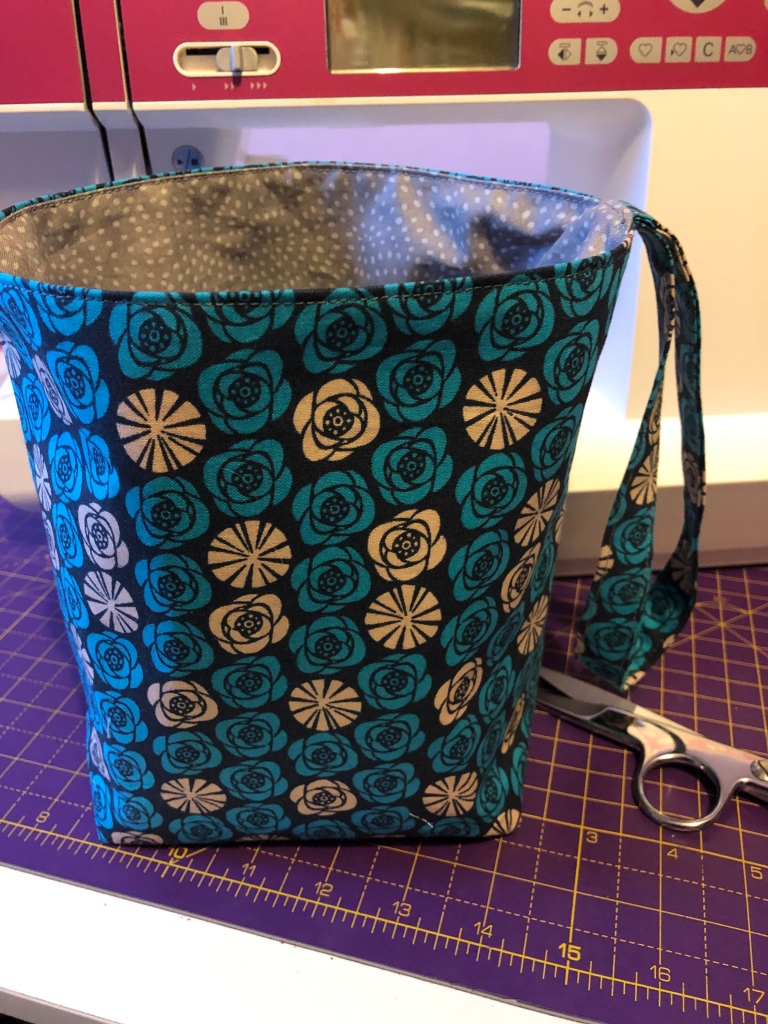
    As you can see it doesn’t take up much room and won’t get in the way but is handy for those bits that need putting in a bin. And it’s totally washable. I suppose it could be lined with ripstop or part of a recycled shower curtain to make it waterproof and easy to wipe out if needed but I don’t think we would need to.

    Pigging Hamstrung

    Last year or the year before I was gifted a book called Pigs, Piglets & Porkers by Alison Wormleigh by my Mother in Law 🙂 there are 30 projects to quilt, stitch embroider and appliqué. There’s at least 5 projects I want to make and last night remembered this book.

    The first project in this book is called hamstrung. Remember those strings of little birds that dangly off a beaded string with a bell on the end that are popular? Well this is done with pigs!

    After remembering a set of brightly and to my mind almost 70’s style fat quarters I had stashed away I dived in and started.

    They turned out to be a bit bigger than imagined but am in love with how they are turning out.

    Having got as far as I can tonight I’m happy with the afternoon spent pottering along on this project. It’s gone as planned with no head scratching or drama so far. Which, really gives me hope for other projects in this book. Clear instructions are always a good thing.

    Tomorrow I’m hoping to get their eyes on and a bell on the bottom. There’s a pot of jingle bells somewhere in the house but I’ve no idea where they got tidied up to when we cleared up to put the Christmas decorations up. Their tails will have to wait though as I realised I don’t have any pipe cleaners as we used them up in a craft project a while ago. Really need to stock up next week so these piggies can have their curly tails.

    Today felt like a Sunday. Very relaxed and easy going. Going to aim for an early night and hope tomorrow is as relaxed and easy going.

    Jelly roll rug and sleep pillows.

    It’s been an interesting day. ‘Interesting’ is the phrase I tend to use when things are not going quite to plan and don’t want to spend the energy complaining. Usually the bright side shows up soon enough so the negative thoughts evaporate and the bright and good ideas start to shine.

    After thinking I was getting better things went downhill with sneezing, sore throat and stuffed nose. Decided some gentle crafts were needed.

    After making my Scandinavian tree stars I had scraps so I used some of them to hand sew a few hexagons tonight with a few others. I’ve not picked them up for a month or so and enjoyed a little hand sewing.

    While in the mood for hand sewing, I finished off these sleep pillows I made last night. Little sachets/pillows stuffed with polyfill and dried herbs and flowers to promote a good nights sleep. Cutting out one only takes a piece of fabric 5×12 inches, so was able to get 4 out of a fat quarter.

    After neglecting my Jelly Roll Rug project I have been putting off actually sewing it into a rug. Decided a test piece of sewing was needed before the actual sewing. That worked out well to.

    Then I checked the time 12.30 am. Having an important meeting in the morning I stopped and still haven’t started on the sewing, but, have the confidence to do it now at least. Hopefully Tuesday will give me a little free time to get this done at least. If not it will probably make a fantastic start to 2019 for my first sewing project.

    For now I’m going to grab one of these sleep pillows and test it. A good nights sleep is always a good thing.

    Sew Happy.

    After being so yucky I braved the world of sewing again.  I wanted to do something easy and fairly quick so that I had the chance of actually finishing something.

    Bowl cosies are something we find great to have around the house and are great for using in the microwave around a bowl and just for holding hot or cold bowls without burning yourself. So out came my fat quarters to see what I fancied making these with. 1 Fat Quarter of fabric will make one bowl cosy with a little left over for other projects. Or they can be double sided and you could make 2 matching out of 2 Fat Quarters.

    All that is needed for one is

    two 10 inch squares of 100% cotton fabric

    two 10 inch square of cotton wadding/batting

    and cotton thread. I actually use normal polyester thread and it’s been fine but I should recommend all cotton especially if you are going to use it in the microwave.

    Layer one square of fabric right side facing out with one square of batting and sew them together with a cross and repeat with the other squares

    Ignoring the green line in this picture.  Fold the fabric right sides together and at the crease measre down and mark 2 inches and in from the edge 1 inch and  connect them in a triangle.  sew along this line and clip off excess leaving a 1/4 in seam allowance.  repeat this on other end and then fold in opposite way and reat so you have formed a bowl shape.  do this on your other square and they should look like this.

    Place these 2 pieces right sides together lining up the corners and seams. Sew together with a 1/4 inch seam allowance, back taking at beginning and the end,  leaving a gap along a straight edge to turn it all through. Clip your corners across the points, making sure you don’t cut your seams and then turn it all through your hole. poke the corners out with a chopstick or something similar and press the edges including the opening inside to look neat. then sew it closed by topstitching all around a small distance from the edge.  And voila you have a bowl cosy. Or in my case 3 because it seemed a good idea at the time.

    It was so relaxing to sit and create without having to stop and sleep. I made some for my son and DIL last year and they love theirs and use them often like we do so they are great last minute gifts to make for Christmas or anytime really.Â